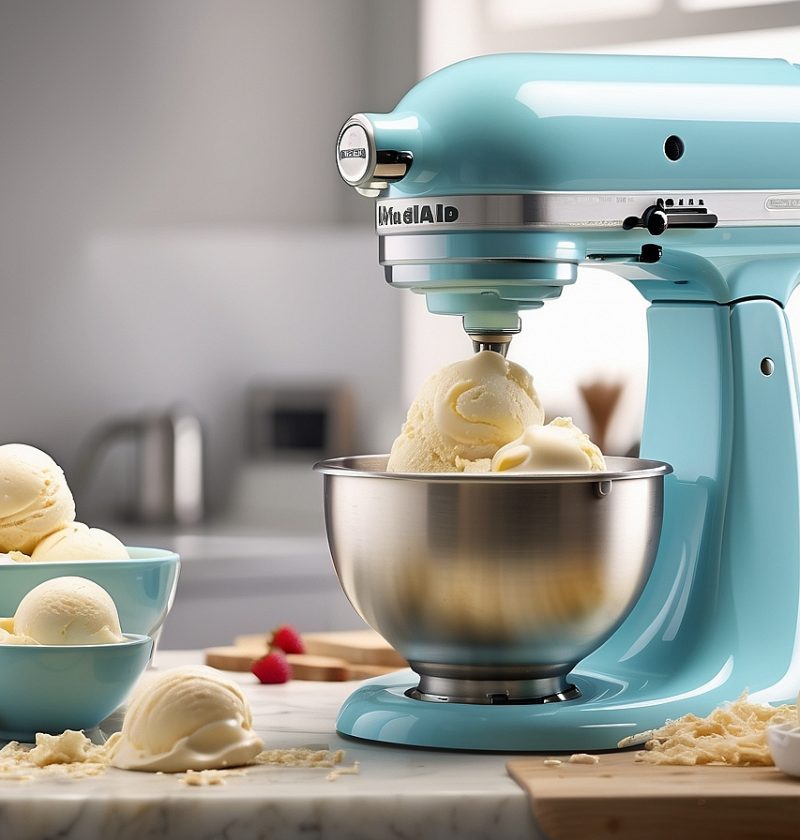
ndulge in the timeless pleasure of homemade vanilla ice cream with our Creamy Homemade Kitchenaid Vanilla Ice Cream recipe. This frozen treat is the epitome of simplicity and satisfaction, offering a rich and smooth texture with the perfect balance of sweet vanilla flavor. Whether you’re serving it in a cone, a bowl, or alongside your favorite desserts, this classic ice cream is sure to bring joy and delight to everyone who takes a scoop.
Difficulty: Intermediate
Prep Time: 20 minutes
Cooking Time: 30 minutes
Chilling Time: 4 hours
Serving: 8
Yield: Approximately 1.5 quarts
Calories: 250 per serving
Ingredients:
- 2 cups heavy cream (473 ml)
- 1 cup whole milk (237 ml)
- 3/4 cup granulated sugar (150g)
- 1 tablespoon pure vanilla extract
- 1/4 teaspoon salt
- 6 large egg yolks
- Optional: Vanilla bean seeds from 1 vanilla pod
Equipment:
- KitchenAid stand mixer with ice cream attachment
- Medium saucepan
- Whisk
- Mixing bowls
- Fine-mesh sieve
- Rubber spatula
- Ice cream storage container
Step-by-Step Guide:
Step 1: In a medium saucepan, heat the heavy cream, whole milk, granulated sugar, vanilla extract, and salt over medium heat. If using a vanilla bean, scrape the seeds from the pod and add them to the saucepan as well.
Step 2: While the cream mixture is heating, whisk the egg yolks in a separate mixing bowl until smooth and creamy.
Step 3: Slowly pour about 1/2 cup of the hot cream mixture into the bowl with the whisked egg yolks, whisking constantly. This helps temper the eggs and prevents them from curdling.
Step 4: Gradually pour the tempered egg mixture back into the saucepan with the remaining cream mixture, stirring continuously.
Step 5: Cook the mixture over medium-low heat, stirring constantly with a rubber spatula, until it thickens and coats the back of the spatula. This usually takes about 5-7 minutes. Do not let it boil.
Step 6: Remove the saucepan from the heat and place a fine-mesh sieve over a clean mixing bowl. Pour the custard through the sieve to strain out any cooked egg bits or vanilla bean pieces.
Step 7: Allow the custard to cool at room temperature for about 20-30 minutes, then cover with plastic wrap, pressing it directly onto the surface to prevent a skin from forming. Chill the custard in the refrigerator for at least 4 hours or overnight.
Step 8: Once the custard is thoroughly chilled, assemble the KitchenAid ice cream attachment according to the manufacturer’s instructions. Turn on the mixer to low speed and slowly pour the custard into the freezing bowl.
Step 9: Churn the custard in the KitchenAid mixer for about 20-25 minutes, or until it reaches a soft-serve consistency. The exact time may vary depending on your machine.
Step 10: Transfer the freshly churned ice cream to a lidded ice cream storage container. Place the container in the freezer for an additional 2-4 hours to firm up the ice cream.
Step 11: When ready to serve, scoop the creamy KitchenAid Vanilla Ice Cream into bowls or cones and enjoy its luscious flavor and velvety texture.
Tips and Tricks:
- For an extra burst of vanilla flavor, use a vanilla bean instead of or in addition to the vanilla extract. Split the bean lengthwise and scrape out the seeds, adding them to the cream mixture in Step 1.
- To enhance the ice cream’s creaminess, make sure to use full-fat ingredients, such as heavy cream and whole milk.
- Experiment with mix-ins like crushed cookies, chocolate chips, or chopped nuts during the last few minutes of churning to customize your ice cream creation.
- To prevent ice crystals from forming on the surface of the ice cream, press a sheet of plastic wrap directly onto the ice cream before sealing the storage container.
Nutritional Information:
- Calories: 250 per serving
- Fat: 18g
- Carbohydrates: 20g
- Protein: 4g
- Fiber: 0g
Final Thoughts:
Indulge in the simple pleasure of homemade KitchenAid Vanilla Ice Cream and experience the delightful creaminess and classic flavor that only a quality ice cream can offer. This recipe combines the magic of a KitchenAid mixer with the traditional charm of vanilla, resulting in a frozen dessert that will leave you craving for more. Whether enjoyed ona hot summer day or as a sweet treat any time of the year, this creamy vanilla ice cream is sure to satisfy your cravings and bring smiles to the faces of everyone who tastes it.
FAQ:
Q1: Can I use a different type of milk, such as skim or 2% milk, instead of whole milk?
A1: Whole milk provides the ideal richness and creaminess for this recipe. While you can substitute with a lower-fat milk, keep in mind that the texture and flavor may be slightly affected.
Q2: Can I use a hand mixer instead of a KitchenAid stand mixer with the ice cream attachment?
A2: The KitchenAid stand mixer with the ice cream attachment is recommended for best results. Hand mixers may not have the necessary power and stability to churn the ice cream effectively.
Q3: How long can I store the homemade vanilla ice cream in the freezer?
A3: The homemade vanilla ice cream can be stored in the freezer for up to 2 weeks. However, for the best texture and flavor, it is recommended to consume it within the first week.
Q4: Can I reduce the amount of sugar in the recipe?
A4: The sugar in this recipe contributes to the overall texture and sweetness of the ice cream. Altering the amount may affect the final result. However, feel free to adjust the sugar to your personal taste preferences.
Q5: Can I add flavors or mix-ins to the vanilla ice cream base?
A5: Absolutely! Once the ice cream reaches a soft-serve consistency during churning, you can add various mix-ins such as chocolate chips, fruit puree, or crushed cookies. Be creative and customize your ice cream creation!
Q6: Can I double the recipe to make a larger batch?
A6: Yes, you can double the ingredients to make a larger batch of vanilla ice cream. Just make sure your KitchenAid mixer can accommodate the increased volume.
Q7: Can I use this recipe without an ice cream maker?
A7: While this recipe is specifically designed for use with a KitchenAid stand mixer and ice cream attachment, you can try alternative methods like the “freeze and stir” technique. Pour the custard into a shallow, freezer-safe container, and freeze it. Every 30 minutes, remove the container from the freezer and vigorously stir the mixture to break up any ice crystals. Repeat until the desired consistency is achieved.
Q8: Can I use this recipe as a base for other ice cream flavors?
A8: Absolutely! This vanilla ice cream recipe serves as a versatile base for creating various flavors. Feel free to experiment with additions like cocoa powder, fruit purees, extracts, or spices to create your own unique ice cream flavors.