Sink your fork into a slice of heaven with this Rustless Cheesecake Recipe. This delectable dessert will transport you to a world of creamy indulgence without the worry of rustling your taste buds. With its velvety texture and luscious flavor, this cheesecake is a perfect treat for any occasion. Whether you’re hosting a dinner party or simply craving a slice of pure bliss, this recipe is a must-try. Get ready to savor every bite of this rust-free delight!
Difficulty: Moderate
Prep Time: 30 minutes
Cooking Time: 1 hour 30 minutes
Serving: 12
Yield: 1 9-inch cheesecake
Calories: Approximately 400 calories per serving
Ingredients:
- 2 cups (400g) graham cracker crumbs
- 1/2 cup (113g) unsalted butter, melted
- 1/4 cup (50g) granulated sugar
- 24 oz (680g) cream cheese, softened
- 1 cup (200g) granulated sugar
- 1 teaspoon vanilla extract
- 4 large eggs
- 1 cup (240ml) sour cream
- 1/4 cup (30g) all-purpose flour
Equipment:
- 9-inch springform pan
- Mixing bowl
- Whisk or electric mixer
- Spatula
- Oven
Step-by-Step Guide:
Step 1:
Preheat your oven to 325°F (163°C). Grease the bottom and sides of the springform pan.
Step 2:
In a mixing bowl, combine the graham cracker crumbs, melted butter, and granulated sugar. Press the mixture firmly into the bottom of the prepared pan to form the crust.
Step 3:
In a separate mixing bowl, beat the cream cheese, sugar, and vanilla extract until smooth and creamy. Add the eggs, one at a time, mixing well after each addition. Stir in the sour cream and flour until fully incorporated.
Step 4:
Pour the cream cheese mixture over the crust in the springform pan. Smooth the top with a spatula.
Step 5:
Bake the cheesecake in the preheated oven for about 1 hour and 30 minutes or until the center is set and the top is lightly browned. The edges may slightly crack, but worry not, it won’t affect the taste.
Step 6:
Once baked, remove the cheesecake from the oven and let it cool in the pan for 10 minutes. Then, carefully run a knife around the edges to loosen the cake. Allow it to cool completely before refrigerating for at least 4 hours or overnight.
Step 7:
Gently remove the sides of the springform pan, revealing the beautiful rustless cheesecake. Slice and serve chilled.
Tips and Tricks:
- To achieve a perfectly smooth and creamy texture, make sure all the ingredients are at room temperature before starting.
- For an extra burst of flavor, you can add a tablespoon of lemon juice or a teaspoon of grated lemon zest to the cream cheese mixture.
- To prevent cracks on the top of the cheesecake, avoid overmixing the batter and be mindful of the baking time.
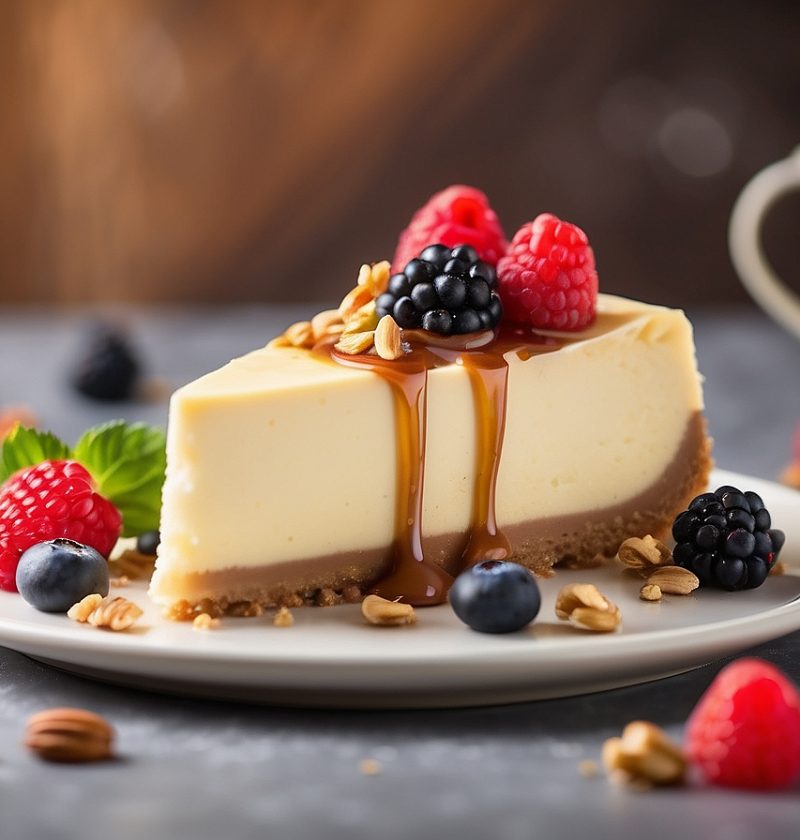
- You can top your cheesecake with fresh berries, a drizzle of chocolate sauce, or a dollop of whipped cream for added decadence.
- This cheesecake can be stored in the refrigerator for up to 5 days. Just make sure to cover it tightly with plastic wrap or store it in an airtight container.
Nutritional Information:
Calories: Approximately 400 calories per serving
Fat: 28g
Carbohydrates: 32g
Protein: 7g
Fiber: 1g
Final Thoughts:
Indulge in the velvety smoothness of this Rustless Cheesecake. Its creamy delight will leave you wanting more, without any worries of rustling your taste buds. Whether you’re celebrating a special occasion or simply treating yourself, this cheesecake is sure to impress. So, savor each bite and relish in the pleasure of this rust-free dessert!
FAQ:
Q1: Can I use a different type of cookie for the crust?
A1: Absolutely! You can experiment with different cookies like chocolate wafers or shortbread cookies to create a unique crust for your cheesecake.
Q2: Can I make this recipe gluten-free?
A2: Yes! Simply replace the graham cracker crumbs with gluten-free cookie crumbs or gluten-free graham crackers to make a delicious gluten-free crust.
Q3: Can I freeze this cheesecake?
A3: Yes, you can freeze the cheesecake (without any toppings) for up to 2-3 months. Just make sure to wrap it tightly in plastic wrap and place it in an airtight container before freezing.
Q4: Can I use a different type of pan instead of a springform pan?
A4: While a springform pan is ideal for easy release, you can use a regular cake pan or pie dish. Just keep in mind that removing the cheesecake from the pan might be a bit more challenging.
Q5: Can I substitute the sour cream with another ingredient?
A5: If you don’t have sour cream on hand, you can use an equal amount of Greek yogurt as a substitute. It will give a similar tanginess and moisture to the cheesecake.
Q6: How can I prevent cracks on the top of the cheesecake?
A6: To prevent cracks, make sure not to overmix the batter and avoid opening the oven door during baking. Additionally, letting the cheesecake cool gradually in the oven with the door slightly ajar can help prevent cracks.
Q7: Can I add additional flavors to the cheesecake?
A7: Absolutely! You can customize the flavors by adding ingredients like chocolate chips, fruit preserves, or even a swirl of caramel sauce to the cream cheese mixture before baking.
Q8: How long should I refrigerate the cheesecake before serving?
A8: It is recommended to refrigerate the cheesecake for at least 4 hours or overnight to allow it to set properly and develop its flavors. This will ensure a firm and creamy texture when serving.
We hope these answers help! If you have any more questions, feel free to reach out. Enjoy your Rustless Cheesecake!