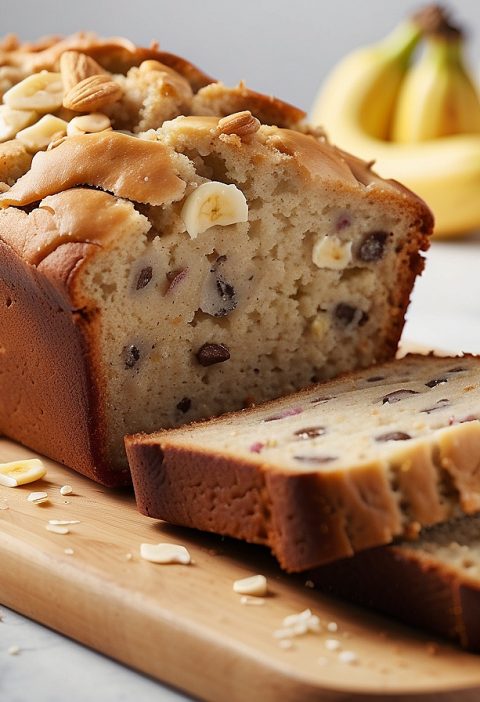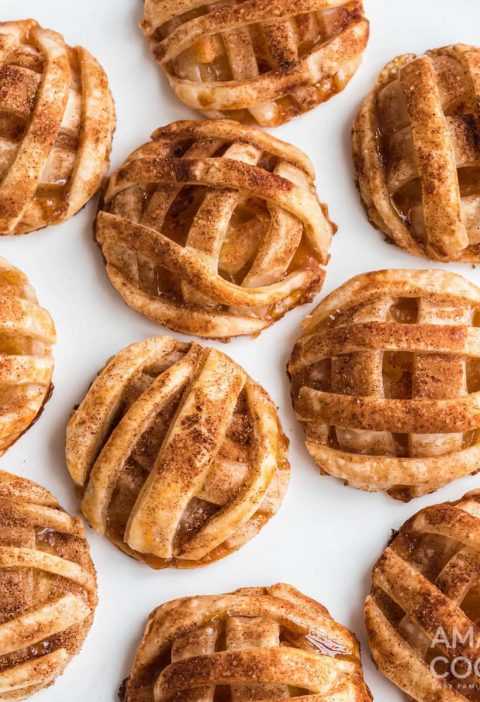
Get ready to elevate your baked goods and culinary creations to new heights with the Perfectly Crispy Egg Wash! This essential recipe is a game-changer when it comes to achieving that golden brown, delectably crisp finish on pastries, bread, and other baked treats. The secret lies in the simple yet magical combination of eggs and a few pantry staples. With the Perfectly Crispy Egg Wash in your culinary arsenal, you’ll be able to create visually stunning and irresistibly appetizing dishes that will leave everyone asking for seconds.
- Difficulty: Easy
- Prep Time: 5 minutes
- Cooking Time: 0 minutes
- Serving: Depends on recipe (generally covers 1 loaf or a dozen pastries)
- Yield: Varies based on recipe
- Calories: Depends on the amount used, negligible when applied thinly
Ingredients:
- 1 large egg
- 1 tablespoon (15 ml) milk or water
- Pinch of salt
- Optional: 1/2 teaspoon (2.5 ml) honey or sugar (for a touch of sweetness, if desired)
Equipment:
- Small bowl
- Whisk or fork
- Pastry brush or silicone brush
Step-by-Step Guide:
Step 1:
In a small bowl, crack the egg and lightly beat it using a whisk or fork. The goal is to combine the yolk and egg white without creating too many bubbles.
Step 2:
Add the milk or water to the beaten egg and whisk gently to incorporate. The liquid helps to thin out the egg wash and create a smooth consistency.
Step 3:
Season the egg wash with a pinch of salt, which helps to enhance the flavors of the finished dish. If you prefer a touch of sweetness, you can add honey or sugar to balance the flavors.
Step 4:
Whisk the egg wash mixture until the ingredients are well combined and the consistency is smooth. Take a moment to appreciate the simplicity of this magical mixture that will transform your baked goods.
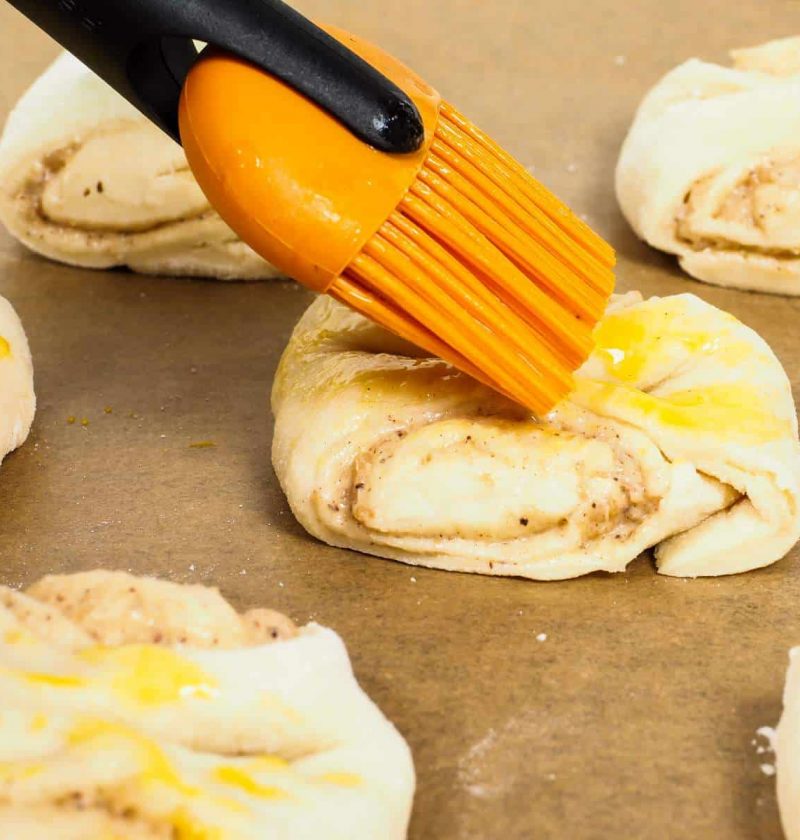
Step 5:
Using a pastry brush or silicone brush, generously apply the egg wash to the surface of your pastries, bread, or other baked goods before baking. Ensure an even coating, taking care not to oversaturate or create puddles of the egg wash.
Tips and Tricks:
- For a glossy finish, you can optionally add a teaspoon of vegetable oil or melted butter to the egg wash mixture. This will give your baked goods an extra sheen and richness.
- If you prefer a richer color, you can replace the milk or water with heavy cream. This will yield a deeper golden hue when baked.
- Experiment with different variations by adding herbs, spices, or seasonings to the egg wash mixture. For example, a sprinkle of dried thyme or a pinch of smoked paprika can add an extra layer of flavor to your baked creations.
- To achieve a more pronounced crust, you can apply a second coat of egg wash after the first layer has dried slightly.
Nutritional Information (per tablespoon of egg wash):
- Calories: 20
- Fat: 1.5g
- Carbohydrates: 0.5g
- Protein: 1g
- Fiber: 0g
Final Thoughts:
The Perfectly Crispy Egg Wash is a must-have recipe for any aspiring baker or home cook. Its simplicity and versatility make it an essential component in creating beautifully golden and appetizing baked goods. Whether you’re preparing a flaky pie crust, a crusty baguette, or a batch of buttery croissants, the Perfectly Crispy Egg Wash will take your creations to the next level. Get ready to impress your family and friends with stunningly delicious treats that are as delightful to look at as they are to eat!
FAQ:
Q1: Can I use a different type of milk in the egg wash?
A1: Absolutely! You can use any type of milk you prefer, such as whole milk, skim milk, almond milk, or soy milk. The choice of milk will slightly affect the richness and flavor of the egg wash.
Q2: Can I omit the salt from the egg wash?
A2: While the salt enhances the flavors, you can omit it if you have dietary restrictions or prefer a salt-free option. The egg wash will still provide a lovely golden color and shine to your baked goods.
Q3: Can I make the egg wash in advance and store it?
A3: It’s best to prepare the egg wash just before using it for optimal freshness and performance. However, if you have leftover egg wash, you can store it in an airtight container in the refrigerator for up to 24 hours. Give it a gentle whisk before using itto ensure a smooth consistency.
Q4: Can I freeze the egg wash?
A4: It’s not recommended to freeze the egg wash as it may alter its texture and affect the final result when used. It’s best to prepare it fresh each time you need it for the best results.
Q5: Can I use the egg wash on savory dishes?
A5: Absolutely! The Perfectly Crispy Egg Wash works wonders on both sweet and savory dishes. It can be used to create a beautiful golden crust on savory pastries, bread, or even roasted vegetables.
Q6: How long should I let the egg wash dry before baking?
A6: Allow the applied egg wash to dry for a few minutes before baking. This will help it set and prevent it from running or pooling during the baking process.
Q7: Can I brush the egg wash on frozen dough or pastry?
A7: Yes, you can brush the egg wash on frozen dough or pastry. However, it’s essential to thaw the dough or pastry according to the manufacturer’s instructions before applying the egg wash for even baking.
Q8: Can I use the Perfectly Crispy Egg Wash for deep frying?
A8: The Perfectly Crispy Egg Wash is primarily designed for baking. While it can provide a golden color, it may not adhere as well during deep frying. It’s recommended to use other breading techniques for deep-fried dishes.
Now that you have the secret to achieving a perfectly crispy finish, it’s time to unleash your creativity in the kitchen! Enjoy the process of transforming your baked goods into tantalizing treats that will leave everyone in awe of your culinary skills. Happy baking!