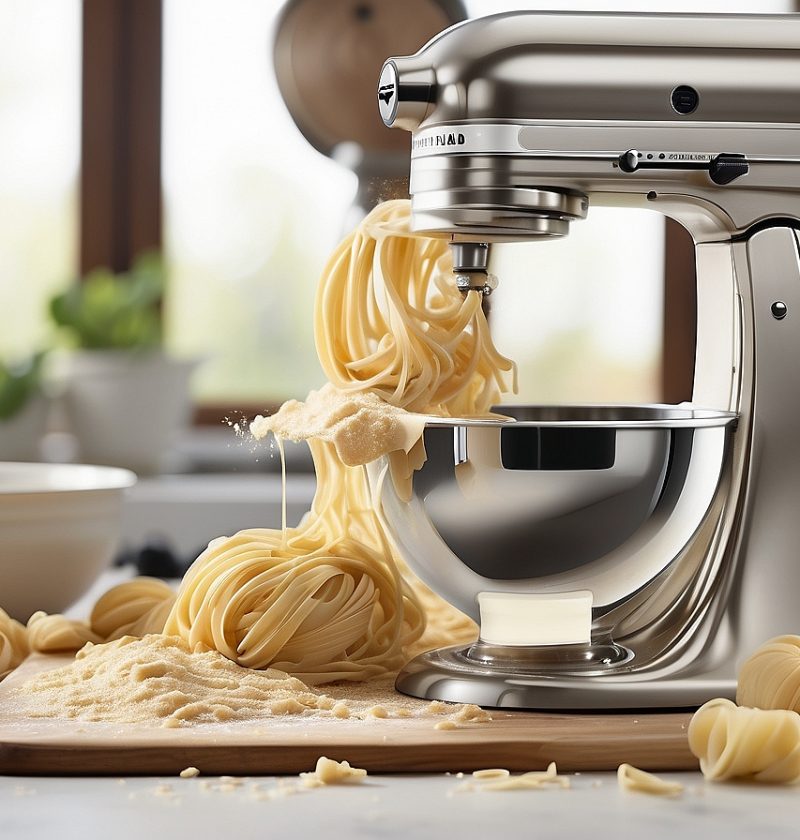
Get ready to elevate your culinary skills and experience the joy of homemade pasta with our KitchenAid Pasta Recipe. With the help of a KitchenAid stand mixer and pasta attachments, you can effortlessly create delicious, fresh pasta right in your own kitchen. This recipe will guide you through the process of making silky strands of pasta dough that can be transformed into a variety of pasta shapes. Say goodbye to store-bought pasta and embrace the satisfaction of creating your own culinary masterpieces.
Difficulty: Intermediate
Prep Time: 30 minutes
Cooking Time: Varies (depending on pasta shape)
Serving: 4
Yield: Approximately 1 pound (450g) of pasta dough
Calories: Varies (depending on pasta shape)
Ingredients
- 2 cups (250g) all-purpose flour
- 2 large eggs
- 1/2 teaspoon salt
- 1 tablespoon olive oil
- Water (as needed)
Equipment
- KitchenAid stand mixer
- KitchenAid pasta attachments (pasta roller and desired pasta cutter)
- Mixing bowl
- Plastic wrap
- Rolling pin
- Knife or pizza cutter
Step-by-Step Guide
Step 1: In the mixing bowl of your KitchenAid stand mixer, combine the all-purpose flour and salt. Make a well in the center and crack the eggs into it. Drizzle the olive oil over the eggs.
Step 2: Attach the mixing bowl and the flat beater to the KitchenAid stand mixer. Start mixing on low speed until the eggs and oil are well incorporated.
Step 3: Replace the flat beater with the dough hook attachment. Knead the dough on low speed for about 2-3 minutes until it comes together into a smooth and elastic ball. If the dough appears dry, add water, one tablespoon at a time, until the desired consistency is reached.
Step 4: Remove the dough from the mixer and shape it into a ball with your hands. Wrap it in plastic wrap and let it rest at room temperature for at least 30 minutes. This will allow the gluten to relax and make the dough easier to roll.
Step 5: Unwrap the dough and cut it into smaller, manageable pieces. Flatten each piece with a rolling pin until it is thin enough to fit through the pasta roller attachment of your KitchenAid.
Step 6: Attach the pasta roller to your KitchenAid stand mixer and set it to the widest setting. Feed the dough through the rollers, folding it in half and passing it through again, until it becomes smooth and pliable.
Step 7: Gradually decrease the width setting of the pasta roller and continue to pass the dough through, without folding, until you reach your desired thickness. If the dough becomes sticky at any point, lightly dust it with flour.
Step 8: Once the desired thickness is achieved, switch to the desired pasta cutter attachment on your KitchenAid. Pass the rolled dough through the cutter to create your preferred pasta shape.
Step 9: Place the cut pasta on a lightly floured surface or a drying rack to prevent sticking. Repeat the rolling and cutting process with the remaining dough.
Tips and Tricks:
- For flavored pasta, incorporate ingredients like spinach, beet, or squid ink into the dough for vibrant colors and unique tastes.
- If the dough feels too sticky during the rolling process, dust your hands, work surface, or the dough itself with a little flour to prevent sticking.
- Experiment with different pasta shapes, such as fettuccine, spaghetti, or ravioli, to add variety to your homemade pasta repertoire.
Nutritional Information
Calories: Varies (depending on pasta shape)
Fat: Varies
Carbohydrates: Varies
Protein: Varies
Fiber: Varies
Final Thoughts
With our KitchenAid Pasta Recipe, you can unlock the art of creating homemade pasta with ease and precision. From silky sheets of lasagna to delicate strands of fettuccine, the possibilities are endless. Embrace the joy of crafting your own pasta from scratch and savor the incomparable taste and texture that only homemade pasta can deliver.
FAQ
Q1: Can I use a different type of flour for this recipe?
A1: Yes, you can experiment with different types of flour, such as semolina or whole wheat flour, to create variations in texture and flavor.
Q2: How long can I store the pasta dough?
A2: The pasta dough can be refrigerated for up to 24 hours. Wrap it tightly in plastic wrap and place it in the refrigerator until ready to use.
Q3: Can I freeze the pasta dough?
A3: Yes, you can freeze the pasta dough for up to 3 months. Wrap it tightly in plastic wrap and place it in a freezer-safe bag or container. Thaw it overnight in the refrigerator before use.
Q4: Can I make pasta without a KitchenAid stand mixer?
A4: Absolutely! While a stand mixer makes the process easier, you can still make pasta by hand. Simply follow the same steps, but mix and knead the dough manually until it reaches the desired consistency.
Q5: How do I cook the homemade pasta?
A5: Bring a large pot of salted water to a boil. Add the pasta and cook until al dente, usually around 2-3 minutes for fresh pasta. Drain and serve with your favorite sauce or toppings.
Q6: Can I make the pasta dough ahead of time?
A6: Yes! You can prepare the dough in advance and store it in the refrigerator until you’re ready to roll and cut the pasta.
Q7: What sauces pair well with homemade pasta?
A7: Homemade pasta pairs well with a variety of sauces, such as marinara, Alfredo, pesto, or a simple olive oil and garlic sauce. Feel free to get creative and experiment with different flavors!
Q8: How much pasta does this recipe yield?
A8: This recipe yields approximately 1 pound (450g) of pasta dough, which can vary depending on the thickness and shape of the pasta you choose to make. Adjust the quantity as needed for your desired serving size.
Now, armed with the knowledge of our KitchenAid Pasta Recipe, it’s time to unleash your inner pasta chef and create culinary delights that will impress family and friends. Enjoy the process of making fresh pasta from scratch and indulge in the incomparable taste and texture that only homemade pasta can offer. Happy cooking!
